

Introduction
This article was written for anyone who is interested in generating images using artificial intelligence, but does not know where to start. It’s surprisingly easy to get started and costs absolutely nothing to try it out – just follow along, and within a few minutes you will be seeing your very own AI generations. If you decide to skip the rest of this introduction and move directly to the step by step instructions – you’ll be doing it even sooner.
If you’ve ever used test-to-image AI and made some images – this guide is not for you. If you have local version of stable diffusion refining your MidJourney generations or run Google CoLab notebook with disco diffusion animations – again, you already know everything you may find in this article. However…
If you are a creative professional, enthusiast, designer, artist, painter or simply curious; if you have seen AI art and would like to try it yourself; if you think machine learning and artificial intelligence may require too much technical knowledge to interface with – read on and join in the fun!
AI's of Choice
Generating content using artificial intelligence is currently a very vibrant and hot discipline. Just in the space of text-to-image generators there are currently dozens of different models and algorithms. Virtually every tech company develops their own tech – from Microsoft to Google to TikTok to Meta – everyone is in on it.
As of August 2022, when this guide was written, there are four AI models that clearly stand out from the rest. These are: Dall-E 2, Imagen, MidJourney and Stable Diffusion.
Dall-E 2 by OpenAI is probably the most widely publicized text-to-image AI system. It was the first to stand out from the crowd and gained much attention from the media when it first launched. It was widely considered the most advanced, publicly accessible model – producing very coherent results despite some murmurs about suspected recent drop in quality. Dall-E 2 is unfortunately in a closed beta and requires an invite to use. Since this guide is meant to get you started in a matter of minutes – we will have to put this one aside as it may take weeks or even months to be accepted to the program.
Based on the information published so far, Imagen is the most advanced AI image generation system currently out there. It should come as no surprise, since it was developed by Google – company with virtually unlimited computing power and access to vast amounts of data collected from the internet, and its users. Currently Imagen is not available publicly, so the claims of its quality remain unverified. Also, it only gets a honorable mention in this guide, and we move onto the systems ordinary mortals can actually use today.
In the past couple of months, MidJourney has been an undisputed AI of choice for anyone interested in creating art using machine learning. The results it produces are much more artistic and painterly than those of the competition. While they may often be less coherent – the color palettes, composition and community-driven ability to learn from other users have made it a favorite among digital AI artists. It will be one of the two systems you will learn how to use.
The other one came out of beta just last week, but has already caused massive earthquakes in the AI community. Stable Diffusion by stability.ai not only rivals Dall-E 2 in many aspects, but it is also completely open source. This means you can freely download the entire model and run it on your own computer, in a cloud or even build new apps and websites – absolutely free of any licensing fees. In just a few days since its release, we’ve seen a wide array of websites and apps pop up all over the place – not just providing access to, but even improving upon this already impressive model. In this guide we will be using stability.ai’s own Dream Studio Lite website.
Let’s get started!

Dall-E 2
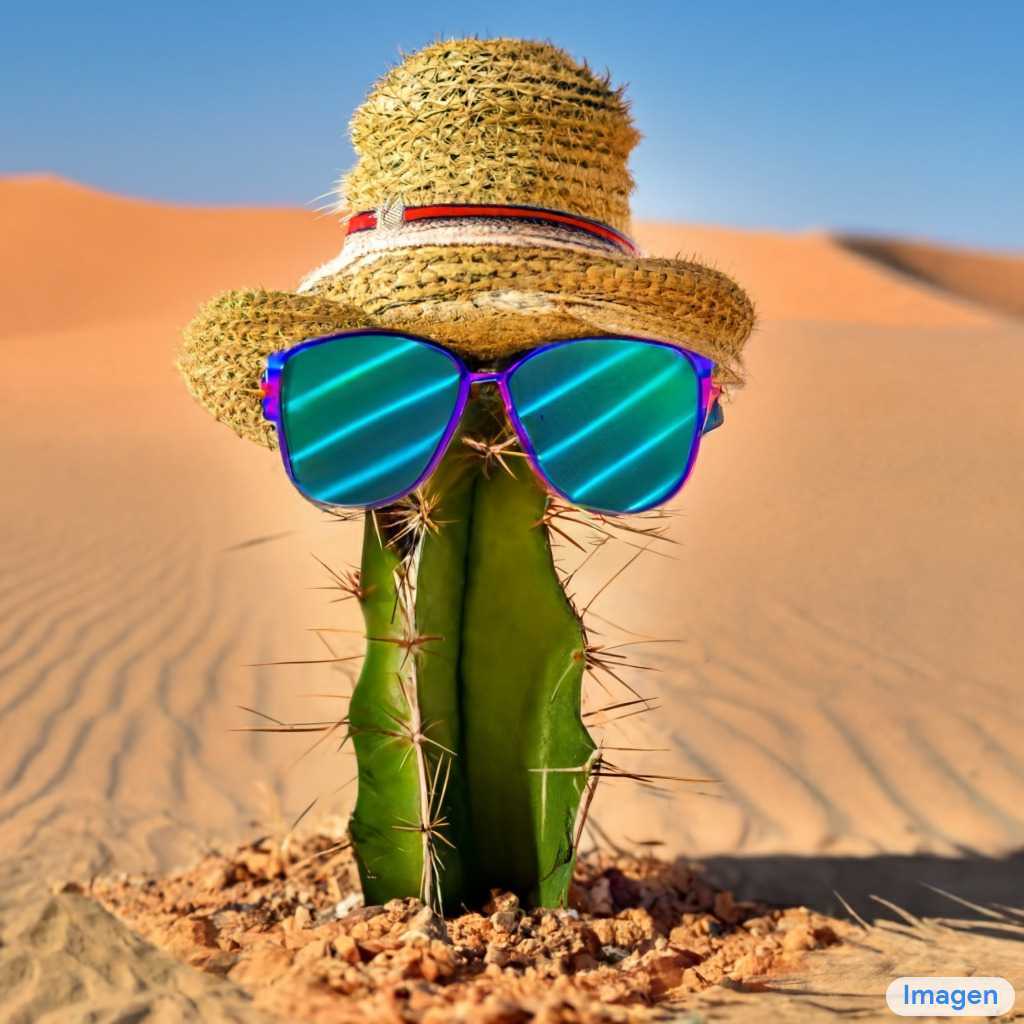
Imagen
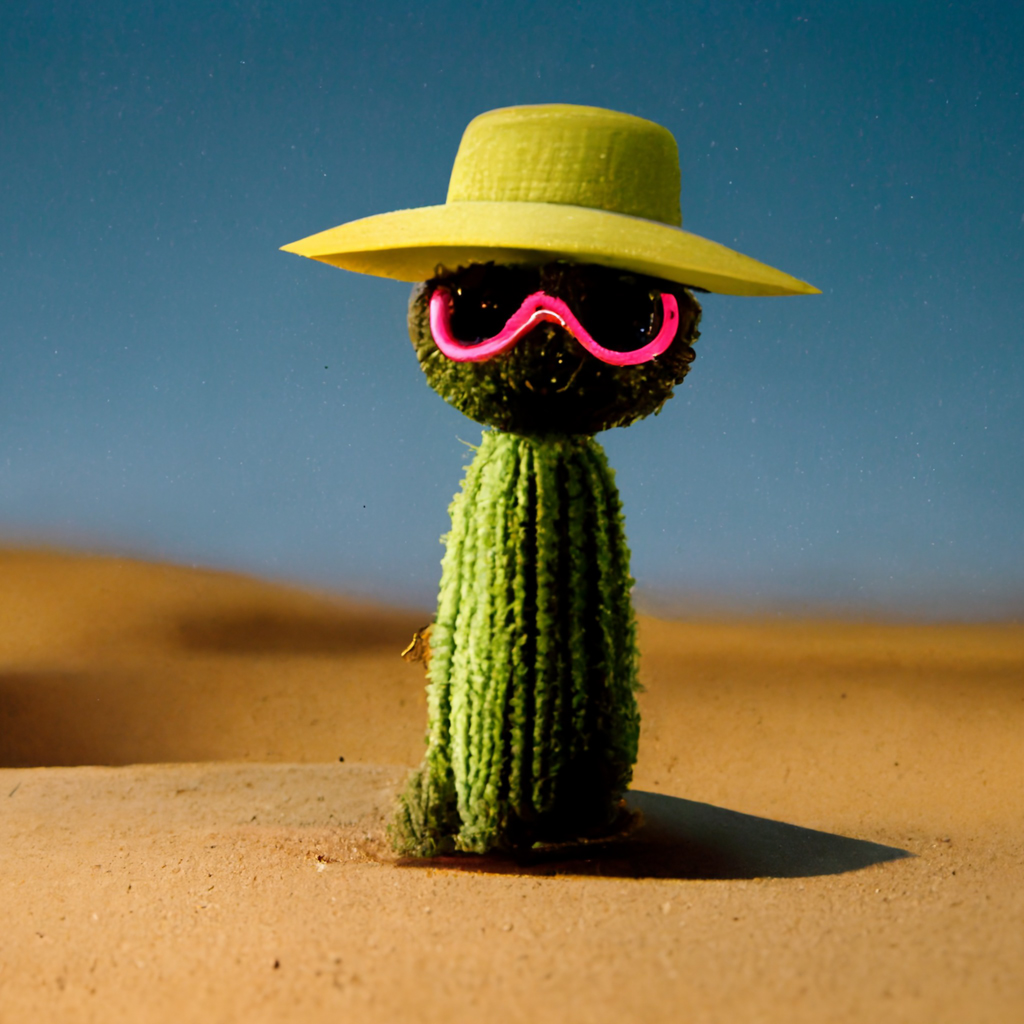
MidJourney
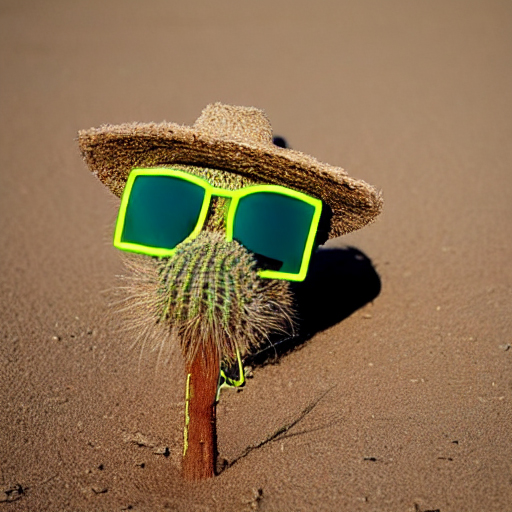
Stable Diffusion
The grid of images above showcases different AI’s interpretation of the same prompt:
A small cactus wearing a straw hat and neon sunglasses in the Sahara desert.
The comparison isn’t entirely fair though. Dall-E 2 and Imagen are much better in interpreting spatial cues: on, made of, behind, wearing, holding etc. They also excel at images that feel more photographic and stock-like. Meanwhile MidJourney and Stable Diffusion thrive with prompts that are more specific, as well as in more artistic styles.
Below are four hand-picked images from each of the AI’s. Different prompts, different styles, but allowing each model to showcase their own strengths.
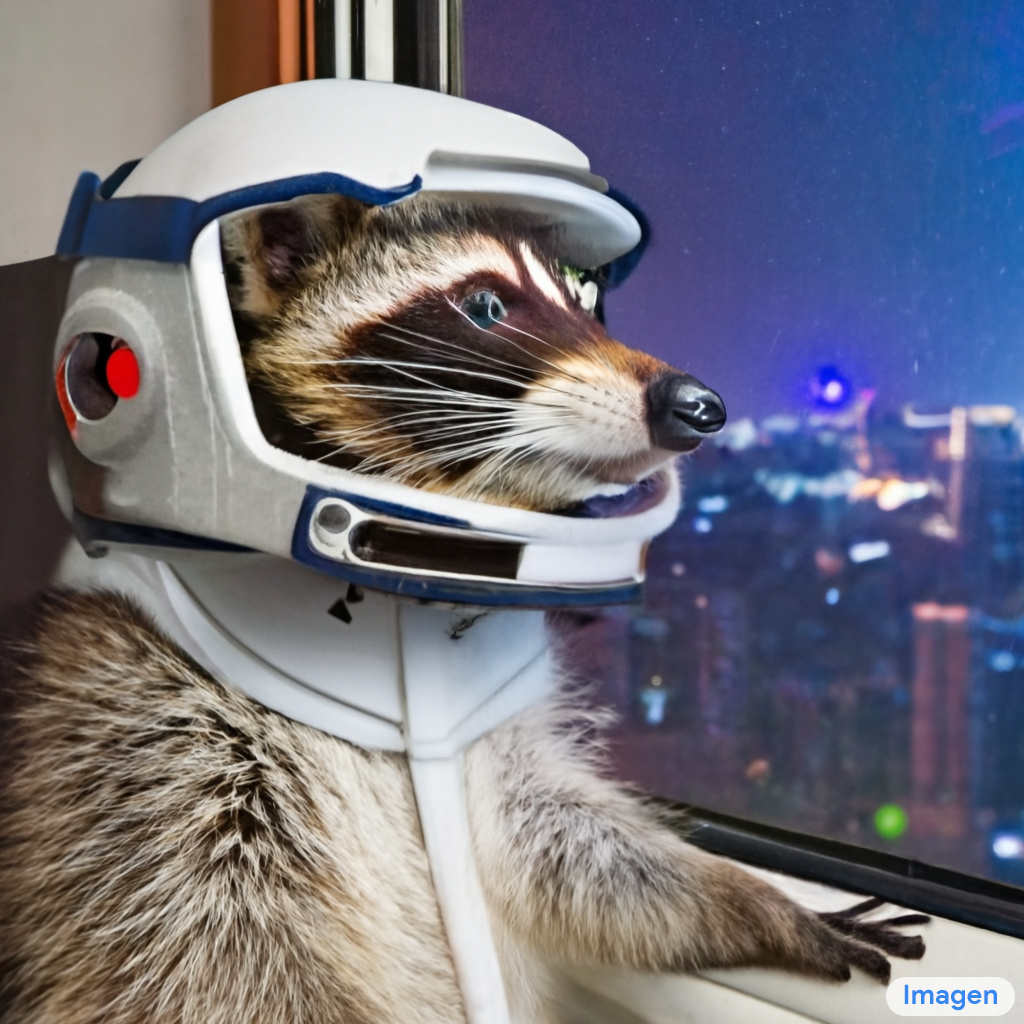
Imagen: A photo of a raccoon wearing an astronaut helmet, looking out of the window at night.
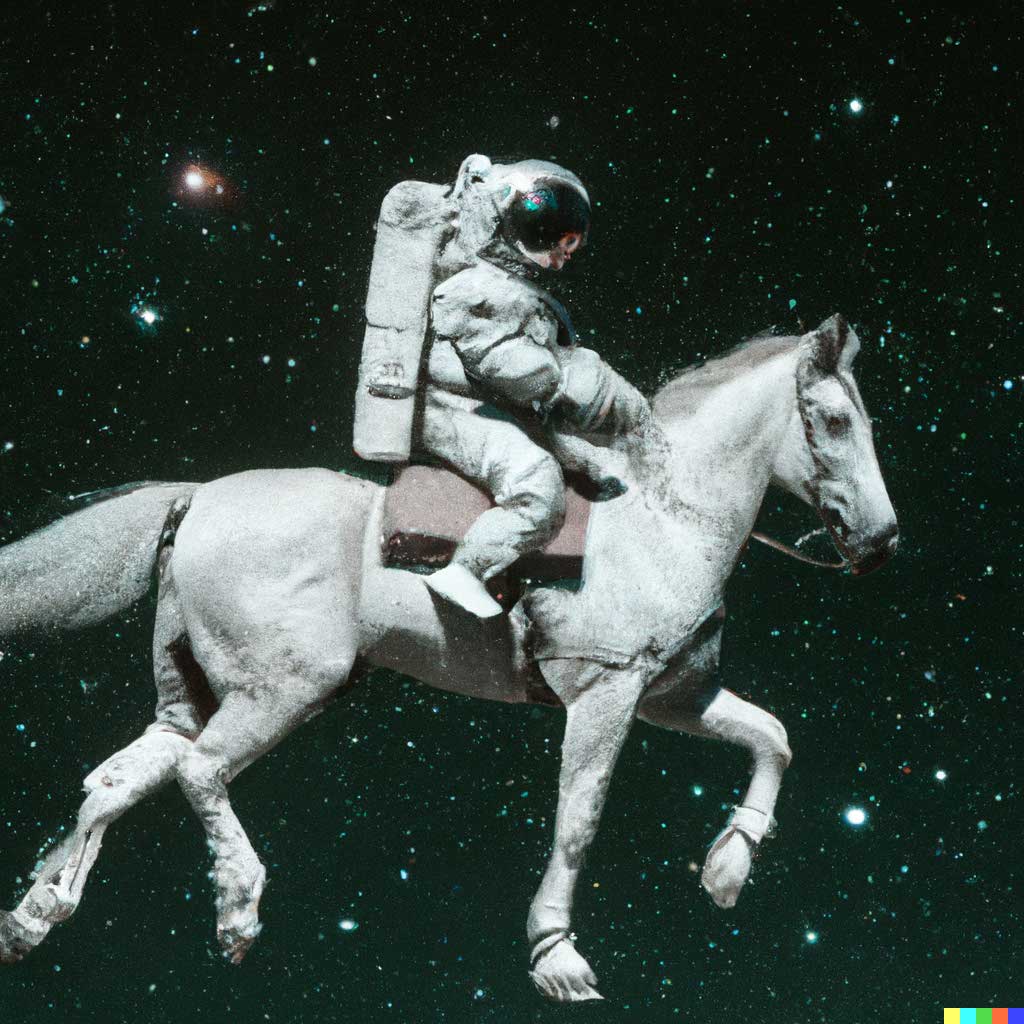
Dall-E 2: An astronaut riding a horse in a photorealistic style.
![MidJourney: Steampunk cat, octane render, hyper realistic [by Michael D Gagnon]](https://qubaxr.com/wp-content/uploads/2022/08/MichaelDGagnon_steampunk_cat_octane_render_hyper_realistic_289358a4-910a-4669-8de7-d2e692cfbbe2.jpg)
MidJourney: Steampunk cat, octane render, hyper realistic [by Michael D Gagnon]
![Stable Diffusion: [prompt and author unknown]](https://qubaxr.com/wp-content/uploads/2022/08/Stable.jpg)
Stable Diffusion: [prompt and author unknown]
AI Art in Few Simple Steps
Step 1: Discord
You will want to begin by creating a Discord account. While it’s an optional step for Stable Diffusion, it is required to interface with and to talk to MidJourney. Unless you are dead-set on only using Stable Diffusion, I strongly recommend not skipping this step.
If you ever used Slack, Discord is quite similar. The main difference is inclusion of voice channels – a feature you don’t ever need to use if you don’t want to. Just like Slack, Discord can be run using a standalone app or via web interface. Both of the options are available on any platform of choice – be it desktop, tablet or mobile. If you don’t want to install the app – web version has all the functionality you’ll ever need to successfully produce AI art.
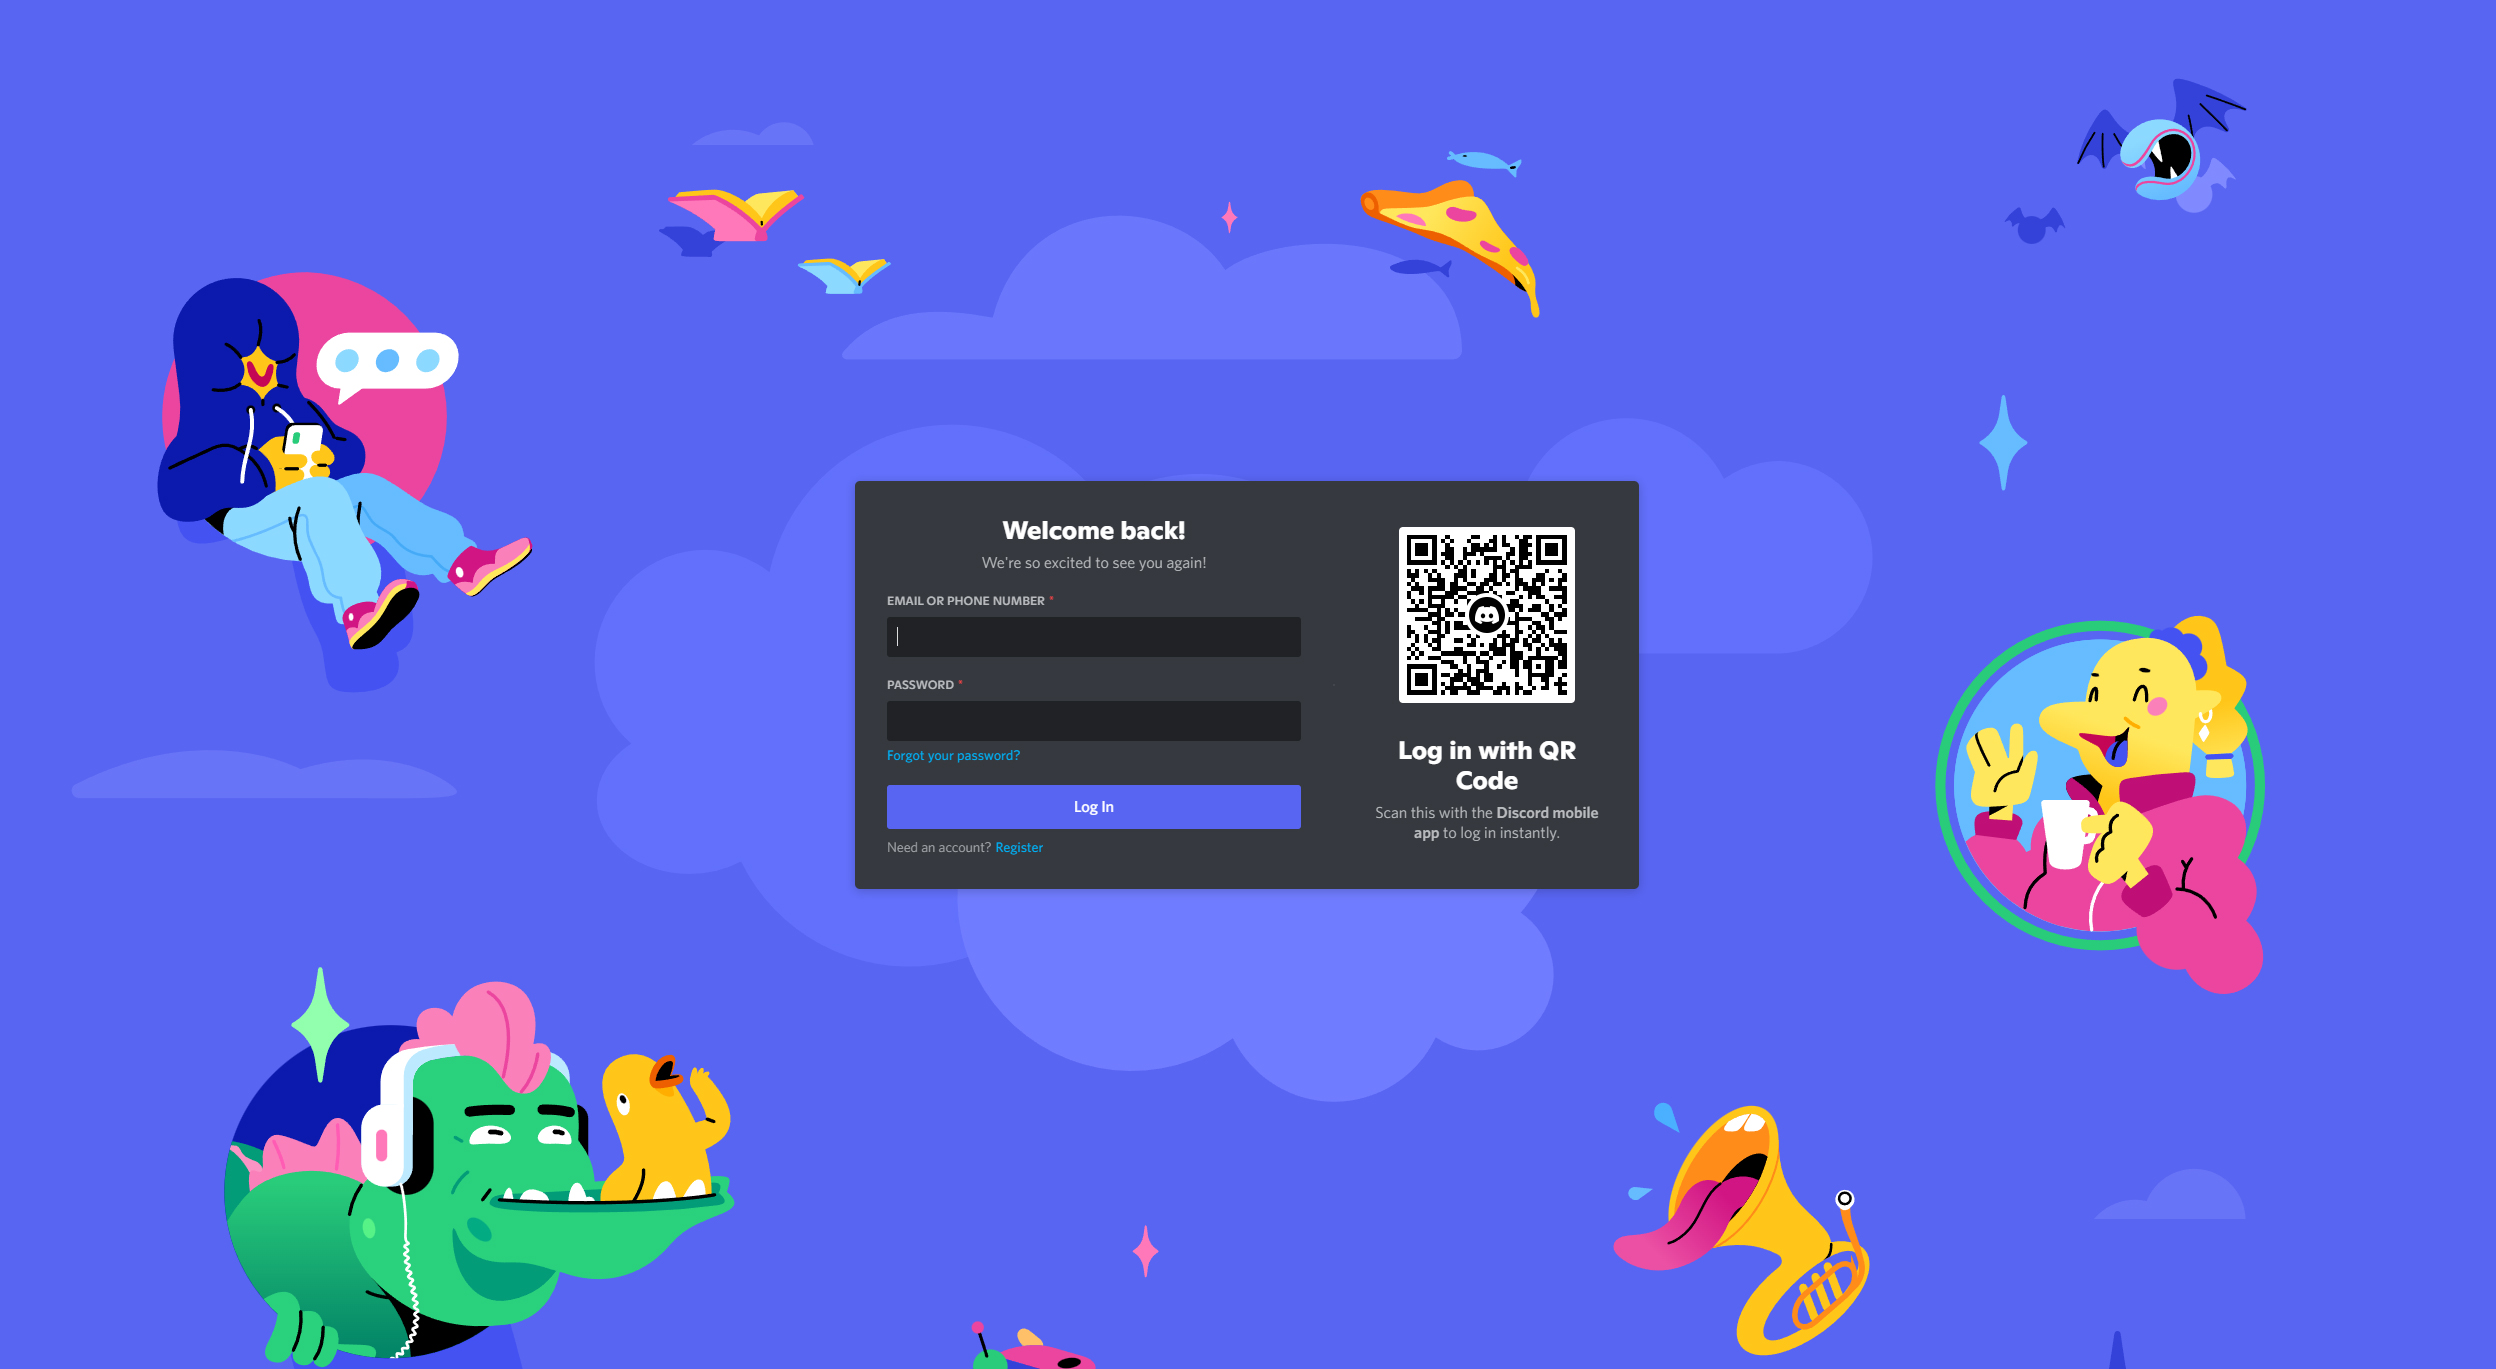
- Simply go to https://discord.com/ and hit the Login button on the top of the page.
- If this is your first time using Discord, press the Register link at the bottom of the window and set up your account.
- Once done, go back to the main Discord page and log into it.
Once logged in, you can leave that browser tab running, or safely close it. It’s time to move onto our first AI.
Step 2: MidJourney
- Visit MidJourney’s webpage at https://www.midjourney.com/home/ and admire a cool ASCII vortex background they created.
- When ready to proceed, hit the Join the beta button.
- A new window will open, inviting you to join MidJourney’s Discord server. Accept Invite and you should be taken to your Discord App, or webpage – depending what you chose in step one.
- Once on MidJourney Discord, use the left tab to switch between the channels and the bottom text field to type.
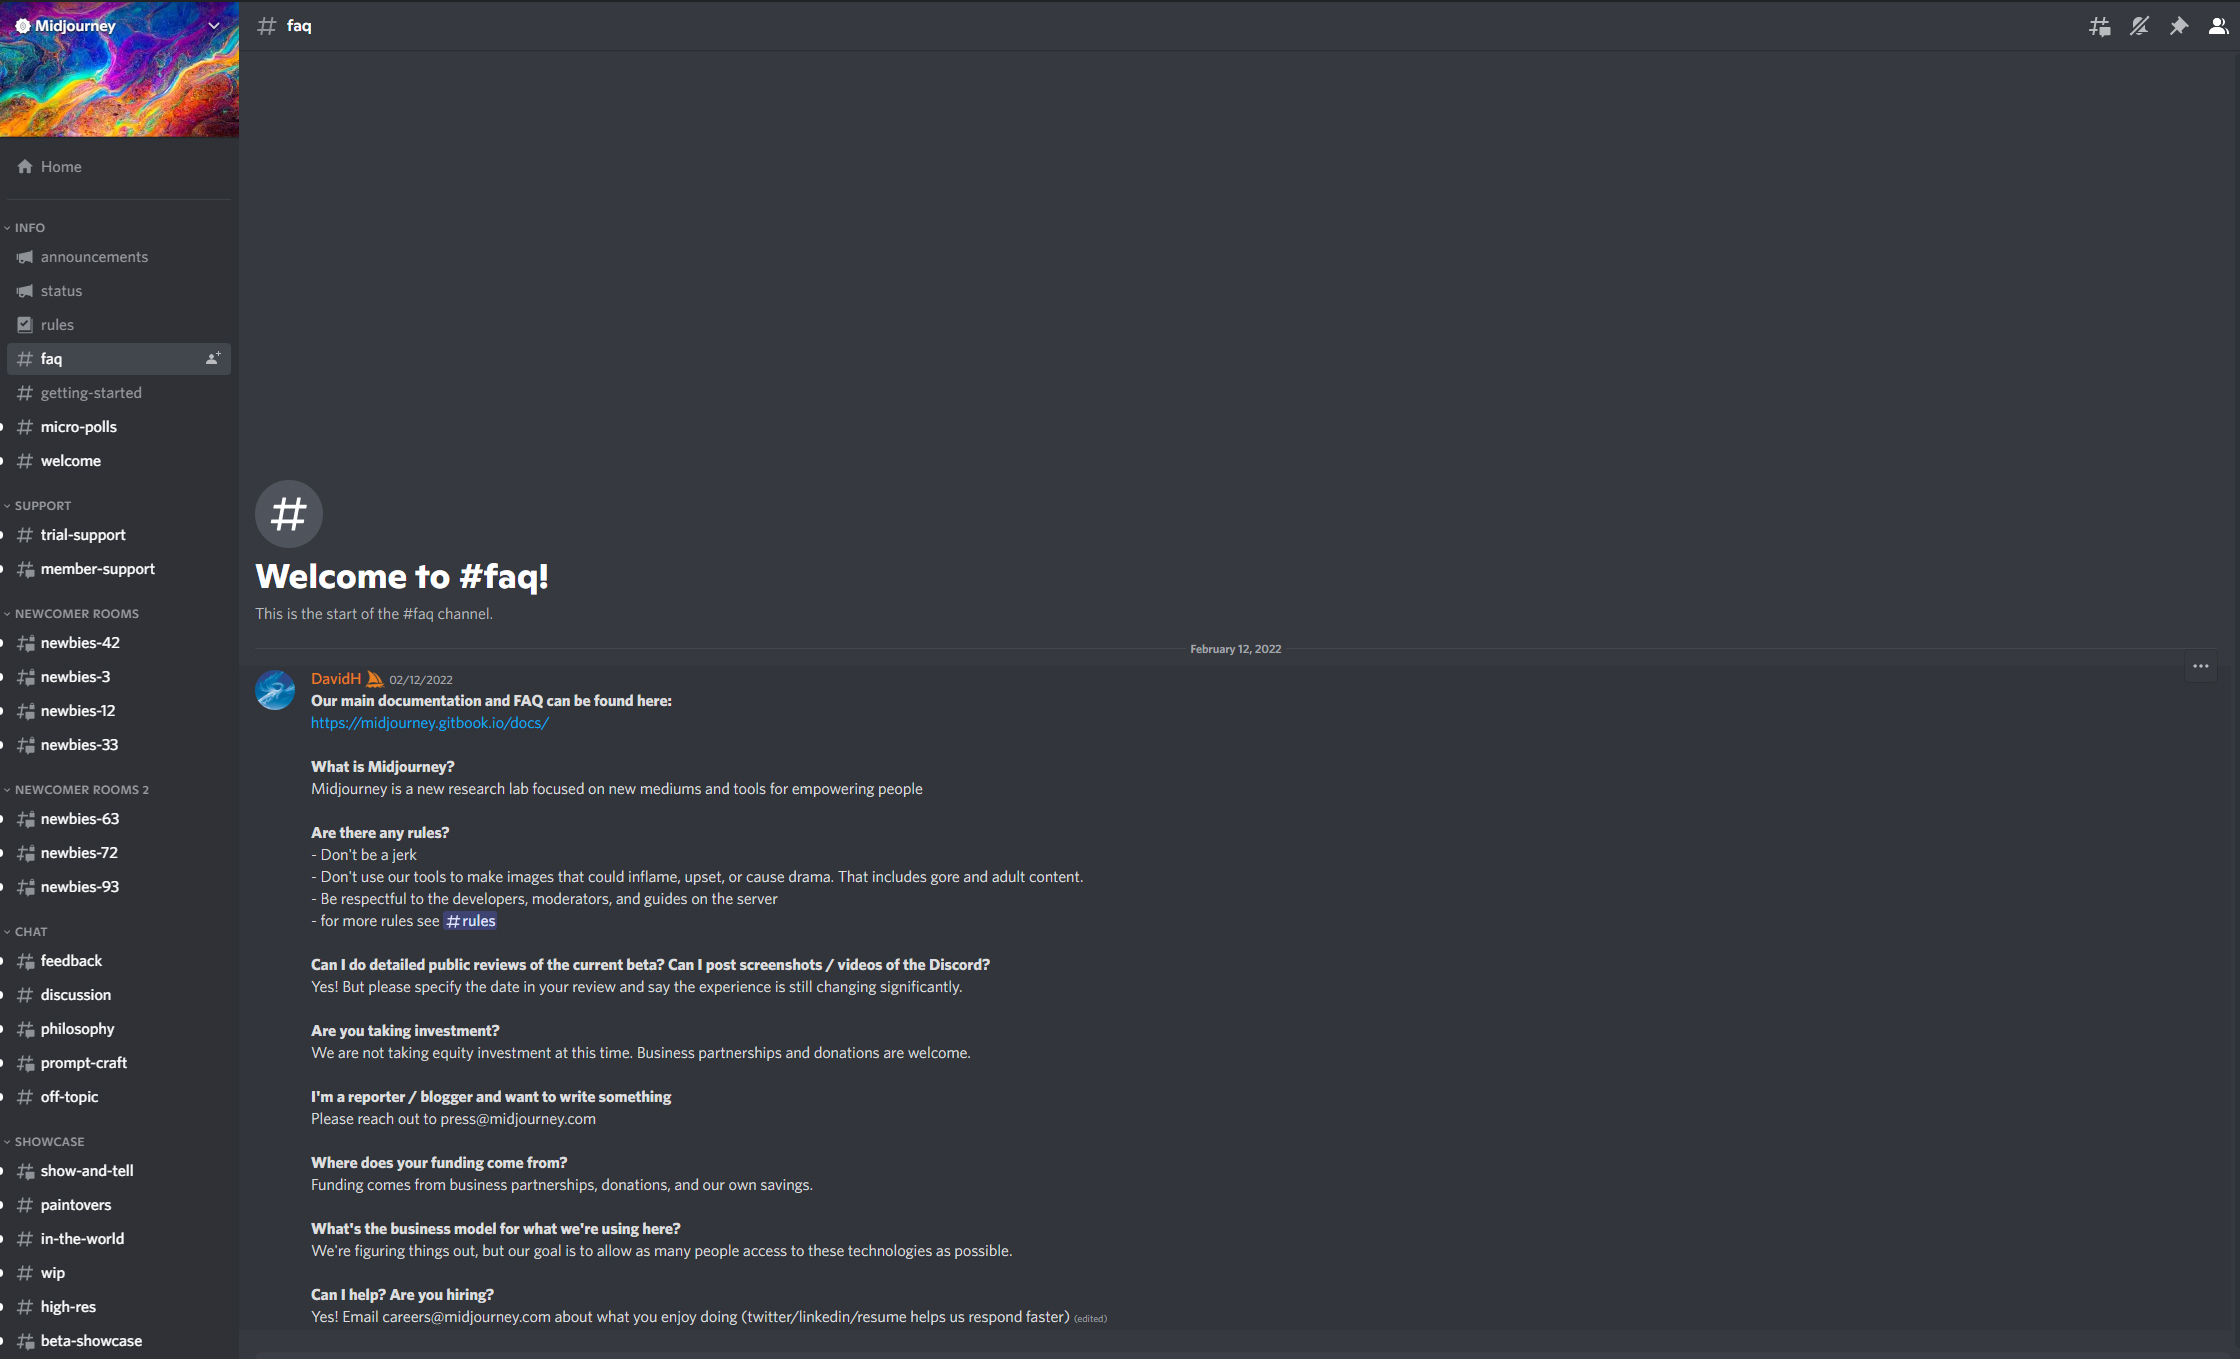
I strongly recommend visiting the rules, faq and getting-started channels to get a better sense of the server’s etiquette and rules. For now through we are in a hurry to get you started, so let’s keep moving!
- Enter one of the channels labeled as Newcomer Rooms. It will be one of the many channels named #newbies-XX (where XX stands for a number from 1 to 99). It does not matter which number you pick.
You will see a stream of prompts and images from other users. If the channel is too full and scrolls too fast, pick another one. Some ought to be slower and less chaotic.
You are currently in the free trial mode. You have been given a generous number of computing credits to experiment with. Once these credits run out, you will be asked to subscribe to a paid tier (it’s worth it), but for now, we’re riding free.
- Click in the bottom text field and type /imagine followed by space.

The word prompt should pop up in the text bar, asking you for what you’d like the AI to generate.
- Continue typing, describing what you’d like to see. When ready, hit Enter
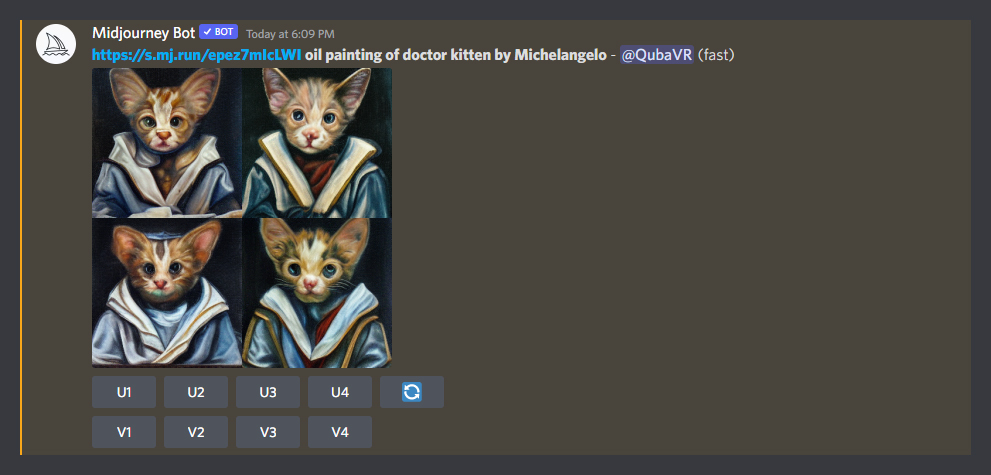
I recommend starting with a relatively simple prompt and then trying it again and again, adding more detail each time. For this guide I tried: oil painting of doctor kitten by Michelangelo.

MidJourney AI will now begin dreaming up your image. It will start with a canvas filled with noise, and over several seconds continuously refine the image, adding more and more detail that matches your prompt.
If you are on a fast-scrolling channel, the generation may be swept away, but don’t worry – when finished, it will pop up at the bottom, and you will also receive a notification.
…by the way congratulations! You’ve just generated your first AI image!
A finished generation will look something like this:

Each of the four images was generated using a different random seed. Think of them as different interpretations of your prompt.
They are also quite tiny. MidJourney is able to work really fast, because at this stage it produces thumbnails only. Next then, you will want to refine and scale up your favorite(s).
The buttons below the four thumbnail images allow you to do just that:
- U1, U2, U3 and U4 are the upscale buttons. If you like one of the four images, simply press a corresponding upscale button to blow it up to large size.
It will kickoff another generation process and take about a minute before you can download your finished artwork. - V1, V2, V3 and V4 buttons will allow you to refine one of your thumbnails and create variations of that particular image.
- If you don’t like any of the images, you can either refine your prompt by starting with /imagine and rephrasing your idea, or hit the blue button with white arrows to try the same prompt with four more seeds.
Say I like the one at the bottom-left (number 3) but it’s not quite there. Hitting V3 will generate variations of that particular random seed. These will look very similar to the third image and keep its general composition, but tweak and randomize various details of the picture.
You may notice MidJourney auto-generated a prompt to do the variants. It includes my original text as well as a URL link to the original third picture I asked to refine. It was then able to look at the image and re-imagine it in four different ways.
I didn’t particularly like any of the new variants, but the original one was good enough so I decided to upscale that one by hitting U3 on the earlier result.
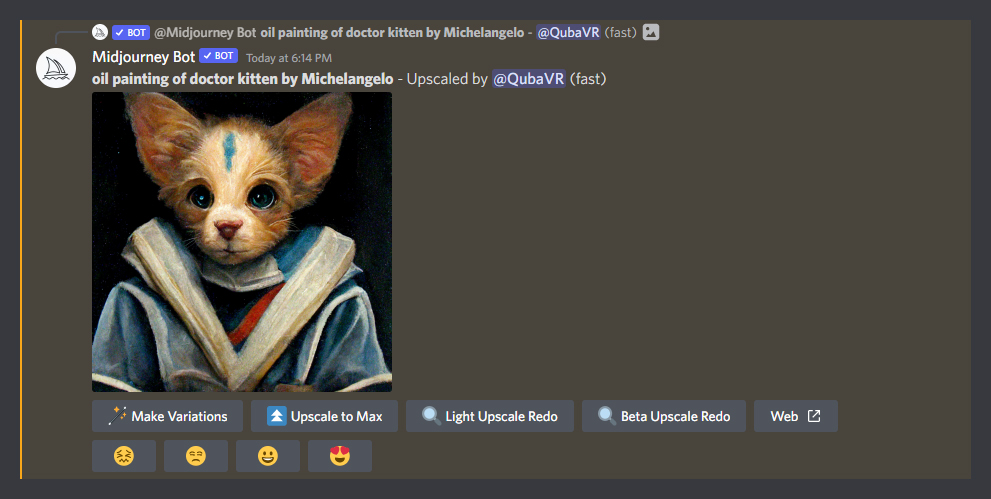
The final result will be presented to you in a format pictured above.
- You can continue to refine your image with further variations or different upscale redo options.
- If you are happy with the result, simply click on the image to see its full size – then save it to your device.
- The four emoticons below the image help further teach MidJourney AI on how well it did. As users rate their generations, the AI strives to follow methods that produce more loved and fewer hated results.
You still have a ton of free credits on MidJourney, so feel free to stick around and continue experimenting.
There is a lot to learn about prompt crafting, additional command parameters, setting up aspect ratio of your images, amount of chaos or passes AI will do while dreaming up your images.
It’s a deep rabbit hole, but you just took your first steps, so once more: congrats!
Once you feel ready to learn more, we can move on to…
Step 3: Stable Diffusion
Now that you’ve tried one text-to-image AI, learning another will be a breeze. Stable Diffusion is even easier to get into and runs straight in your browser.
- Head on over to stability.ai’s Dream Studio at: https://beta.dreamstudio.ai/dream
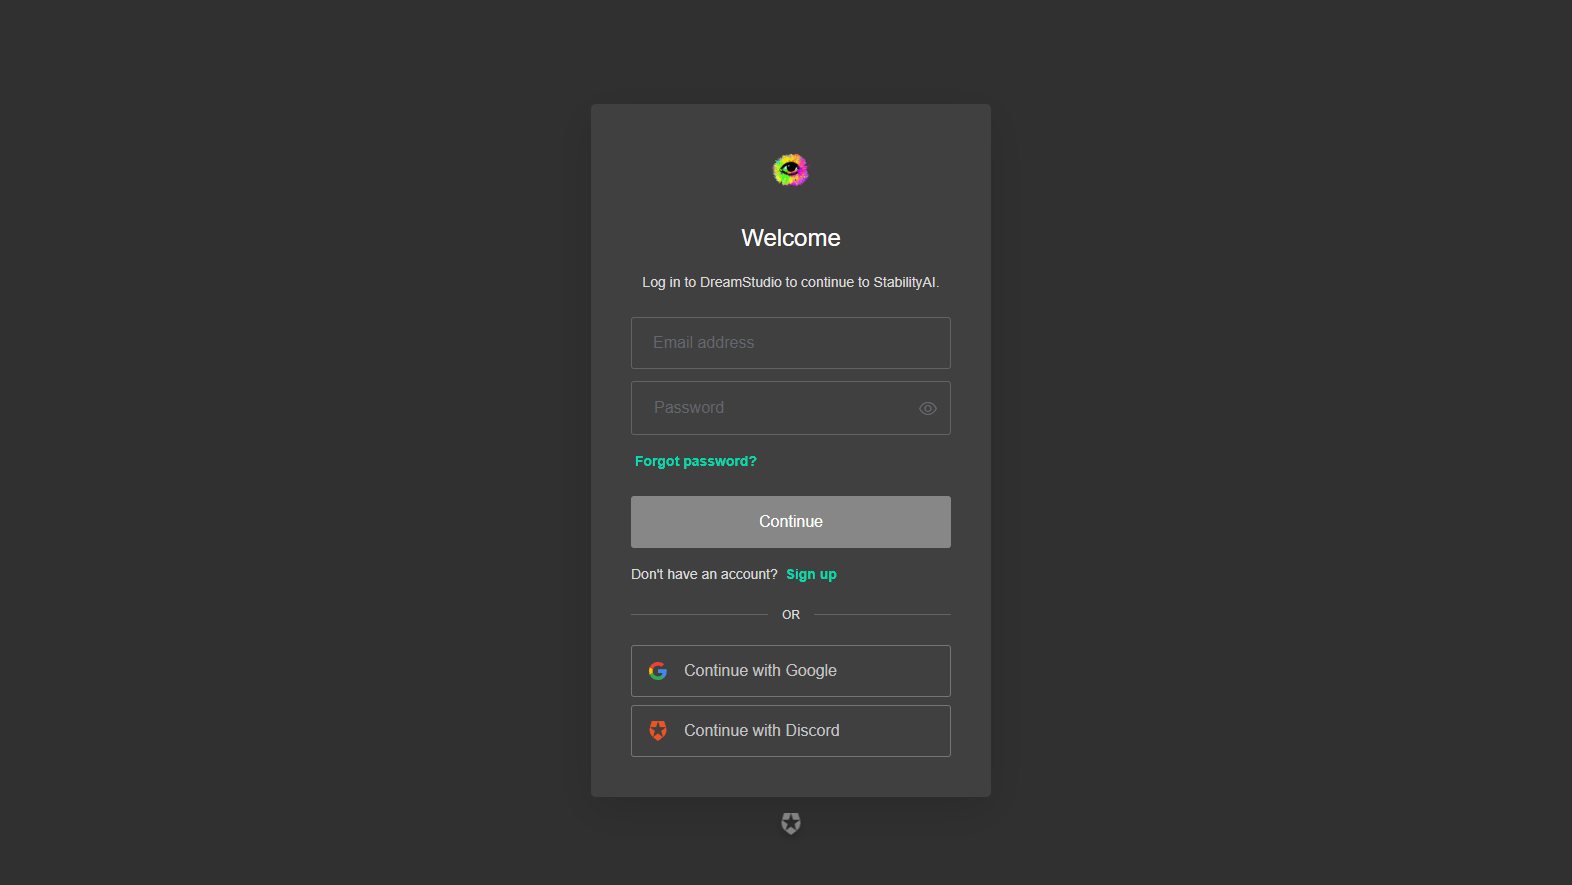
- You will be greeted by a login prompt. You can create a new account using your e-mail, or login with Google or Discord account.
Since you’ve just created a brand new Discord, why not use it here as well? It’s almost the same process as with MidJourney, only that at the end you will be logged into a site, rather than to a Discord server.
Once logged in, the interface is quite self-explanatory. You have some general tabs on the left, and image controls on the right.
Unlike MidJourney, Stable Diffusion does not generate thumbnails. Instead, it goes for a final-sized image from the get go. You will still be able to render a number of variations – but each of them will cost the amount of credits required to compute a full image.
- Use sliders on the right to set your image aspect ratio and dimensions.
- I recommend leaving Cfg scale and Steps sliders at their default values, until you’re more comfortable with the basics
- Increase Number of images if you’d like to generate a whole grid of full-sized results at once. I recommend starting with one.
- Finally, use the text field at the bottom to enter your prompt and then hit the Dream button.
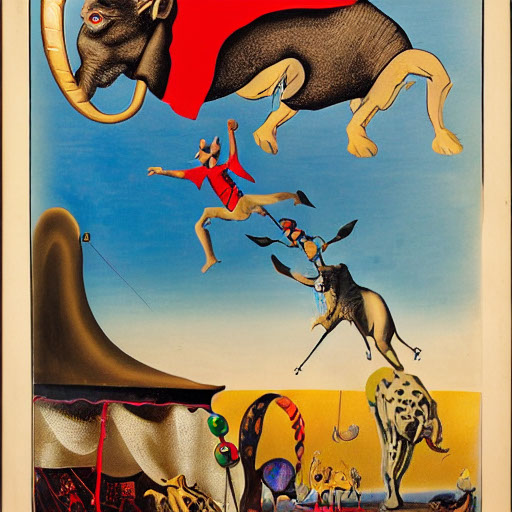
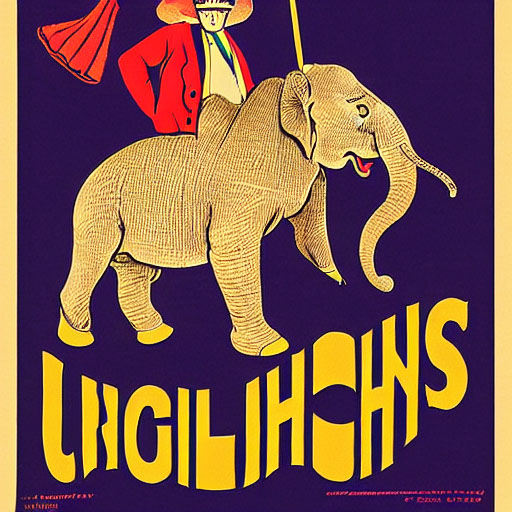
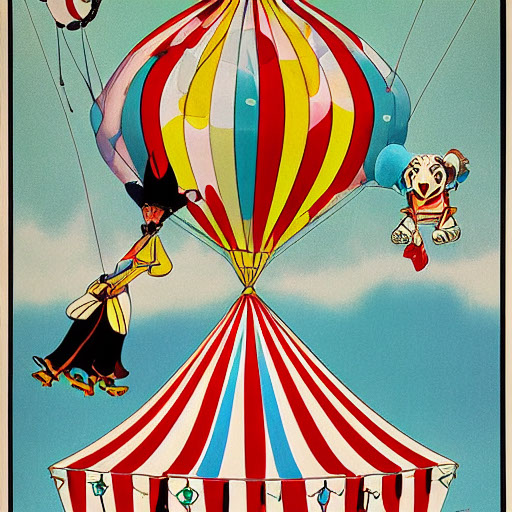
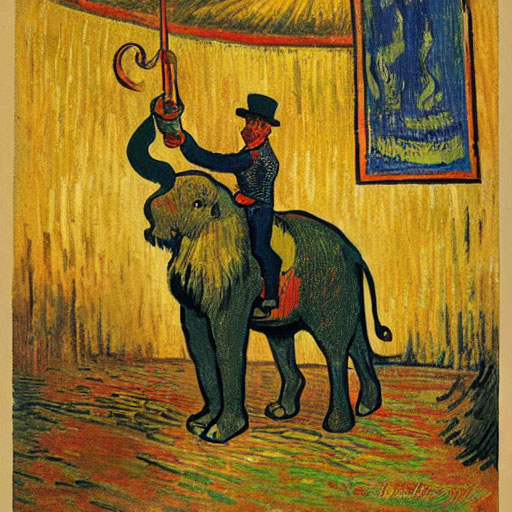
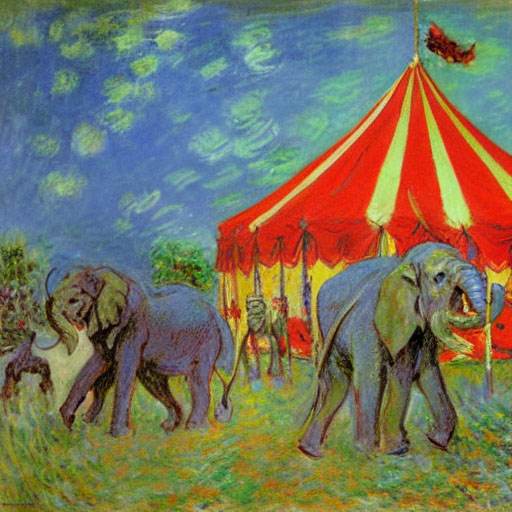
I decided to try: Circus poster illustrated by Albrecht Dürer. High resolution archival scan. Circus tent, elephant, lion. Man in top hat.
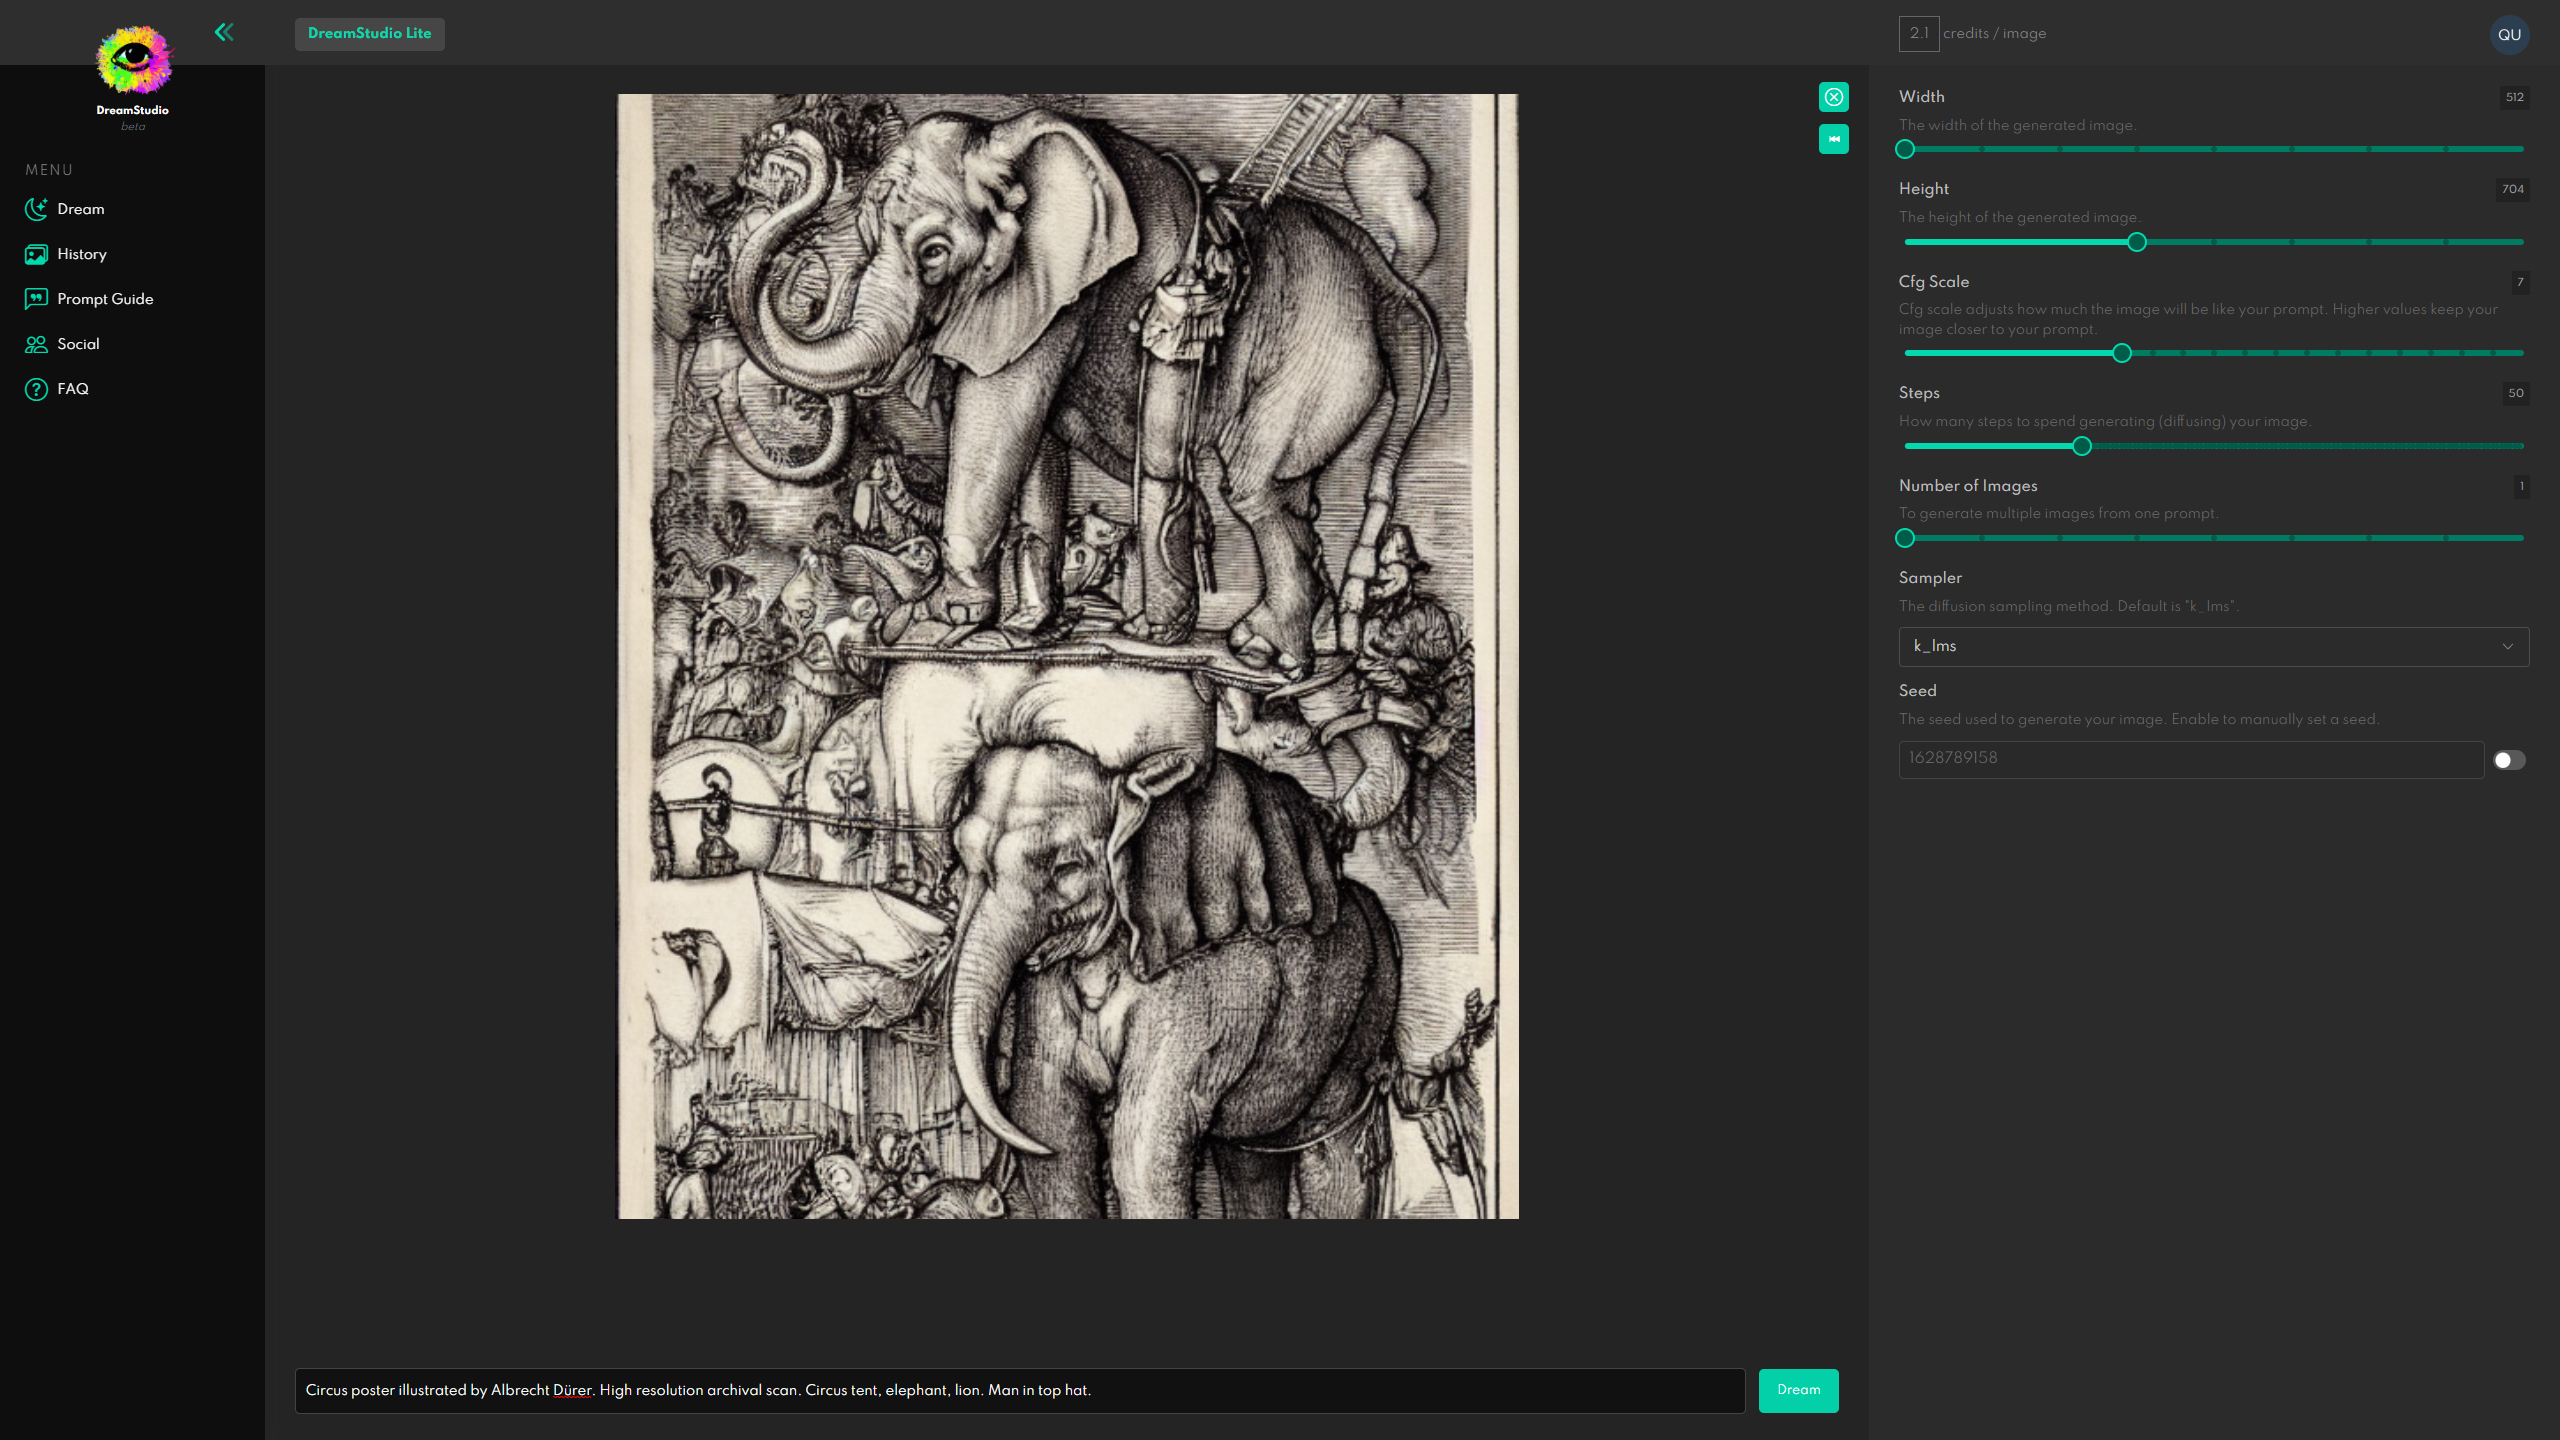
That’s really all there is to it.
- Don’t forget to download your generated images.
Stable diffusion will not save your images automatically. It will store a low resolution preview and a code to re-generate them again on demand – but it will cost you credits to do it each time if you don’t save a local copy.
Now You're Cooking with AI Gas
There is a lot to learn in the field of text-to-image AI generation. Each model has its own quirks and preferences. Each AI interprets the prompts differently, and produces images in different styles (largely depending on the images it was trained on). By the time you master one model, new, more powerful ones will emerge and the whole game will start again.
If you ever wanted to learn another, foreign language, you may think of prompt crafting as of learning to communicate in a brand new dialect. The words may be the same, but their functions and meanings will change from one AI to another.
If you really catch the bug – next step would be to clone some of the models and run them on your own environment – be it at home or in the cloud.
It’s truly a deep, deep rabbit hole – and I am glad to have helped you take the plunge!
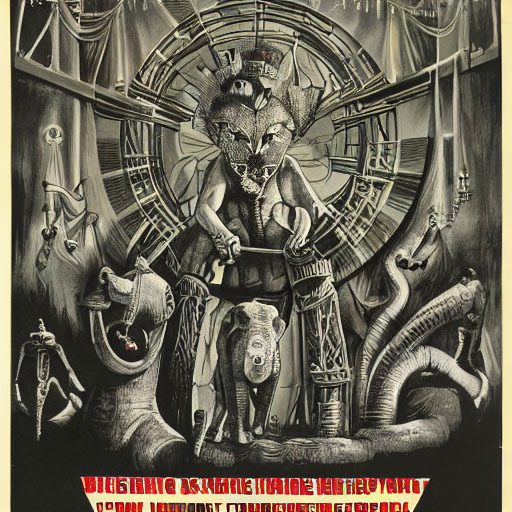
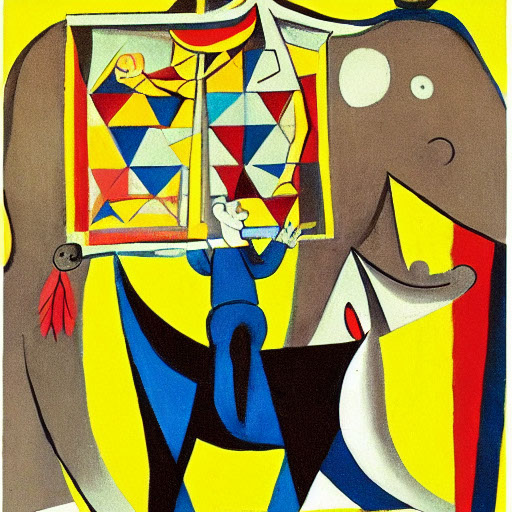
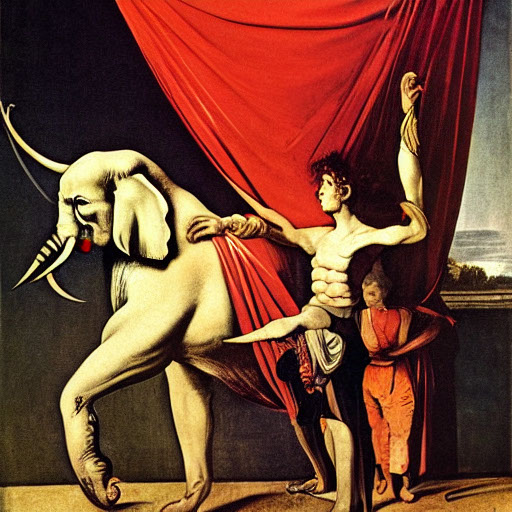
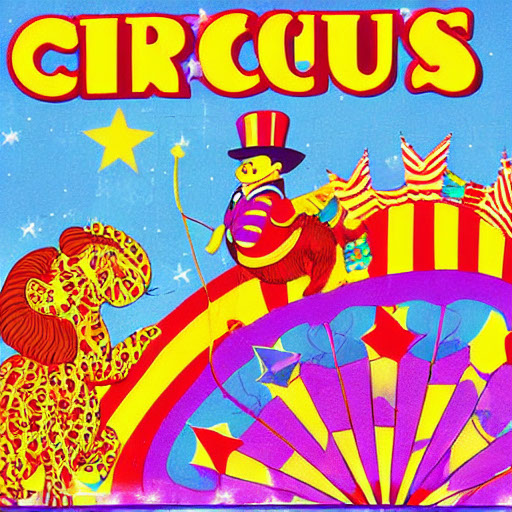
Oh, and here are some more circus posters I created by changing artist name. Can you identify all of them?


Special thanks to Bill Flora and ChiChiLand. You questions and inquiries about artificial intelligence art have been the inspiration for writing this guide.