With growing demand for 360° and Virtual Reality content, many Cinema 4D artists had to migrate to 3rd party render engines such as Octane, V-Ray or Arnold, or even attempt building custom 360° rendering methods. While undoubtedly powerful, these solutions have a major drawback – they require newcomers to learn new shader and lighting models, spending time and resources on migrating existing projects into the new workflow.
If you haven’t been paying close attention, you might not be aware there’s a new player on the field, and it is currently as close as we can get to a first-party solution.
Cineversity VR Camera, or CV-VR Cam for short is a product of Maxon-managed Cineversity – a popular subscription based Cinema 4D training and tools resource. For the past few weeks I have been testing version 1.5 of this plugin, putting it through paces in an array of tests, as well as in a real-life commercial project.
What do you get
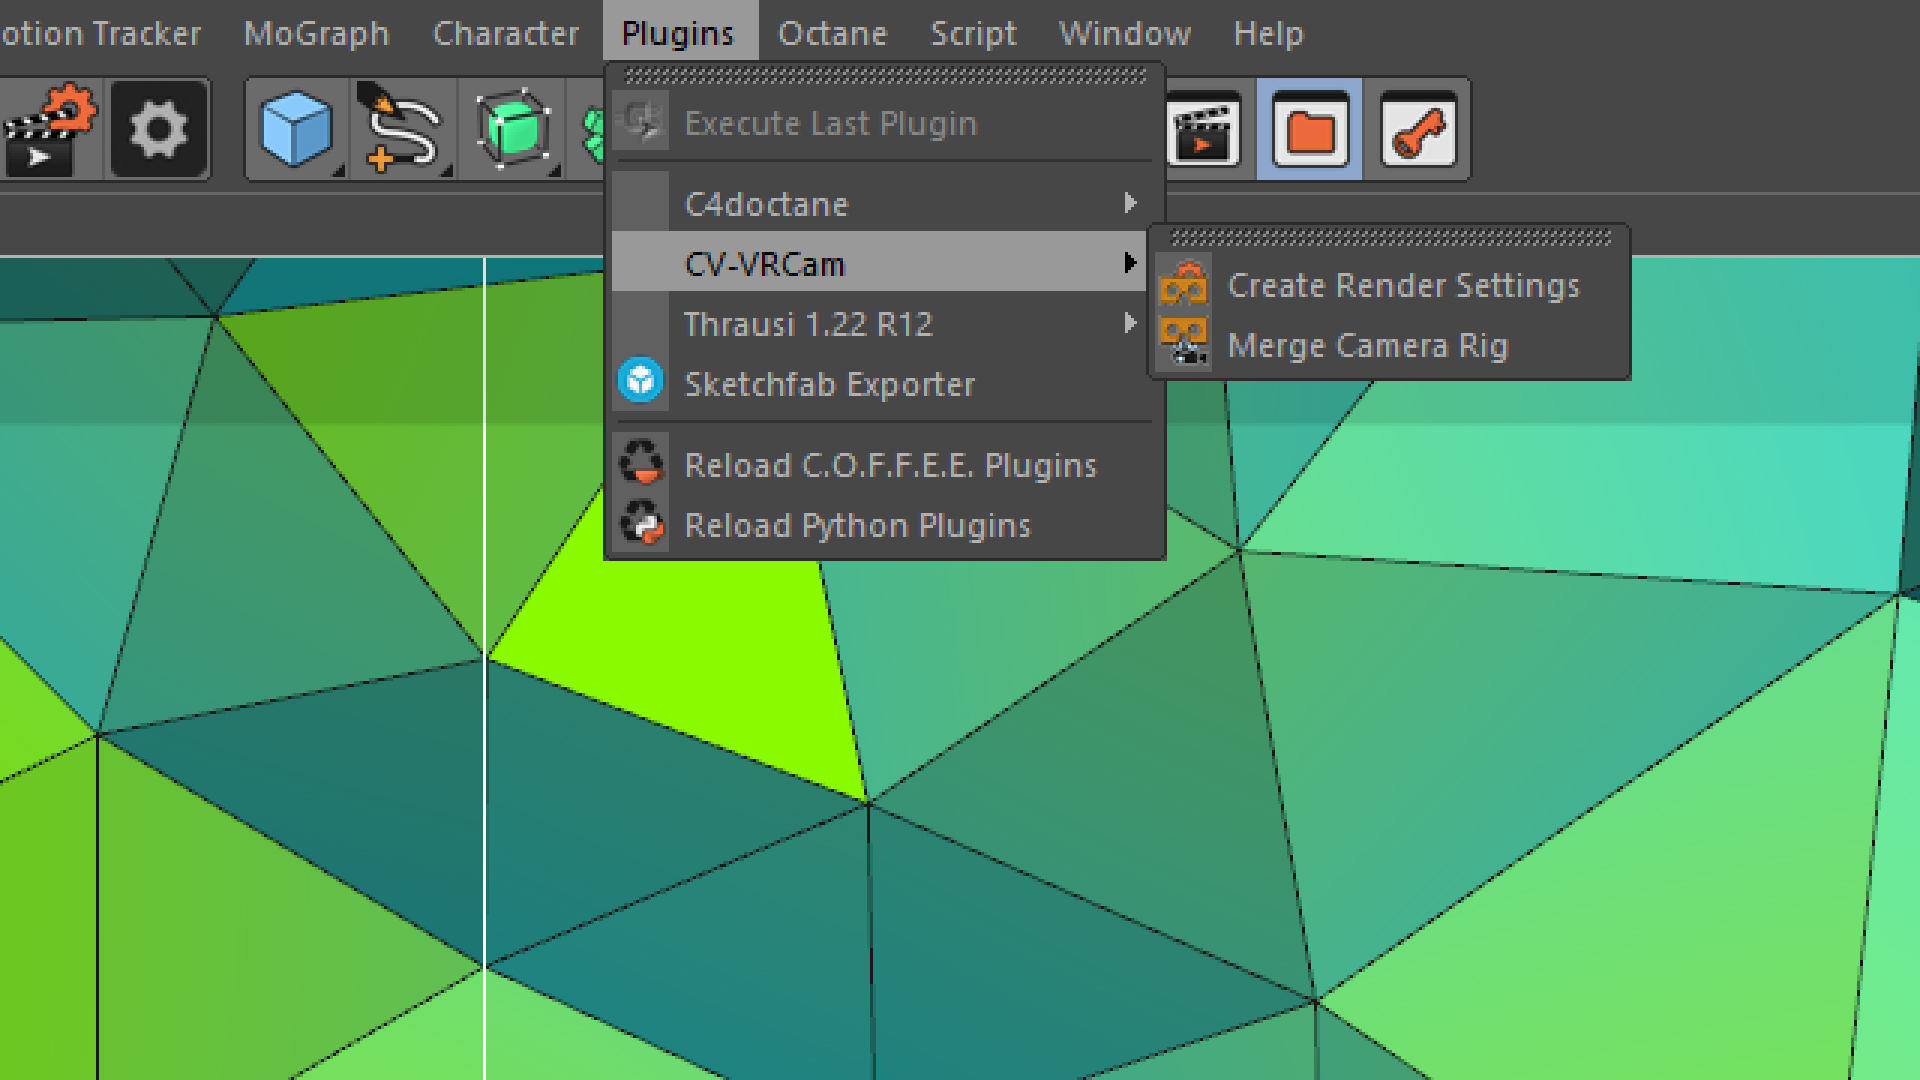
After installing CV-VR Cam, you will discover a new sub-menu in your plugins section, allowing you to add a camera rig to your composition. It will also let you quickly apply a number of useful presets into your render settings.
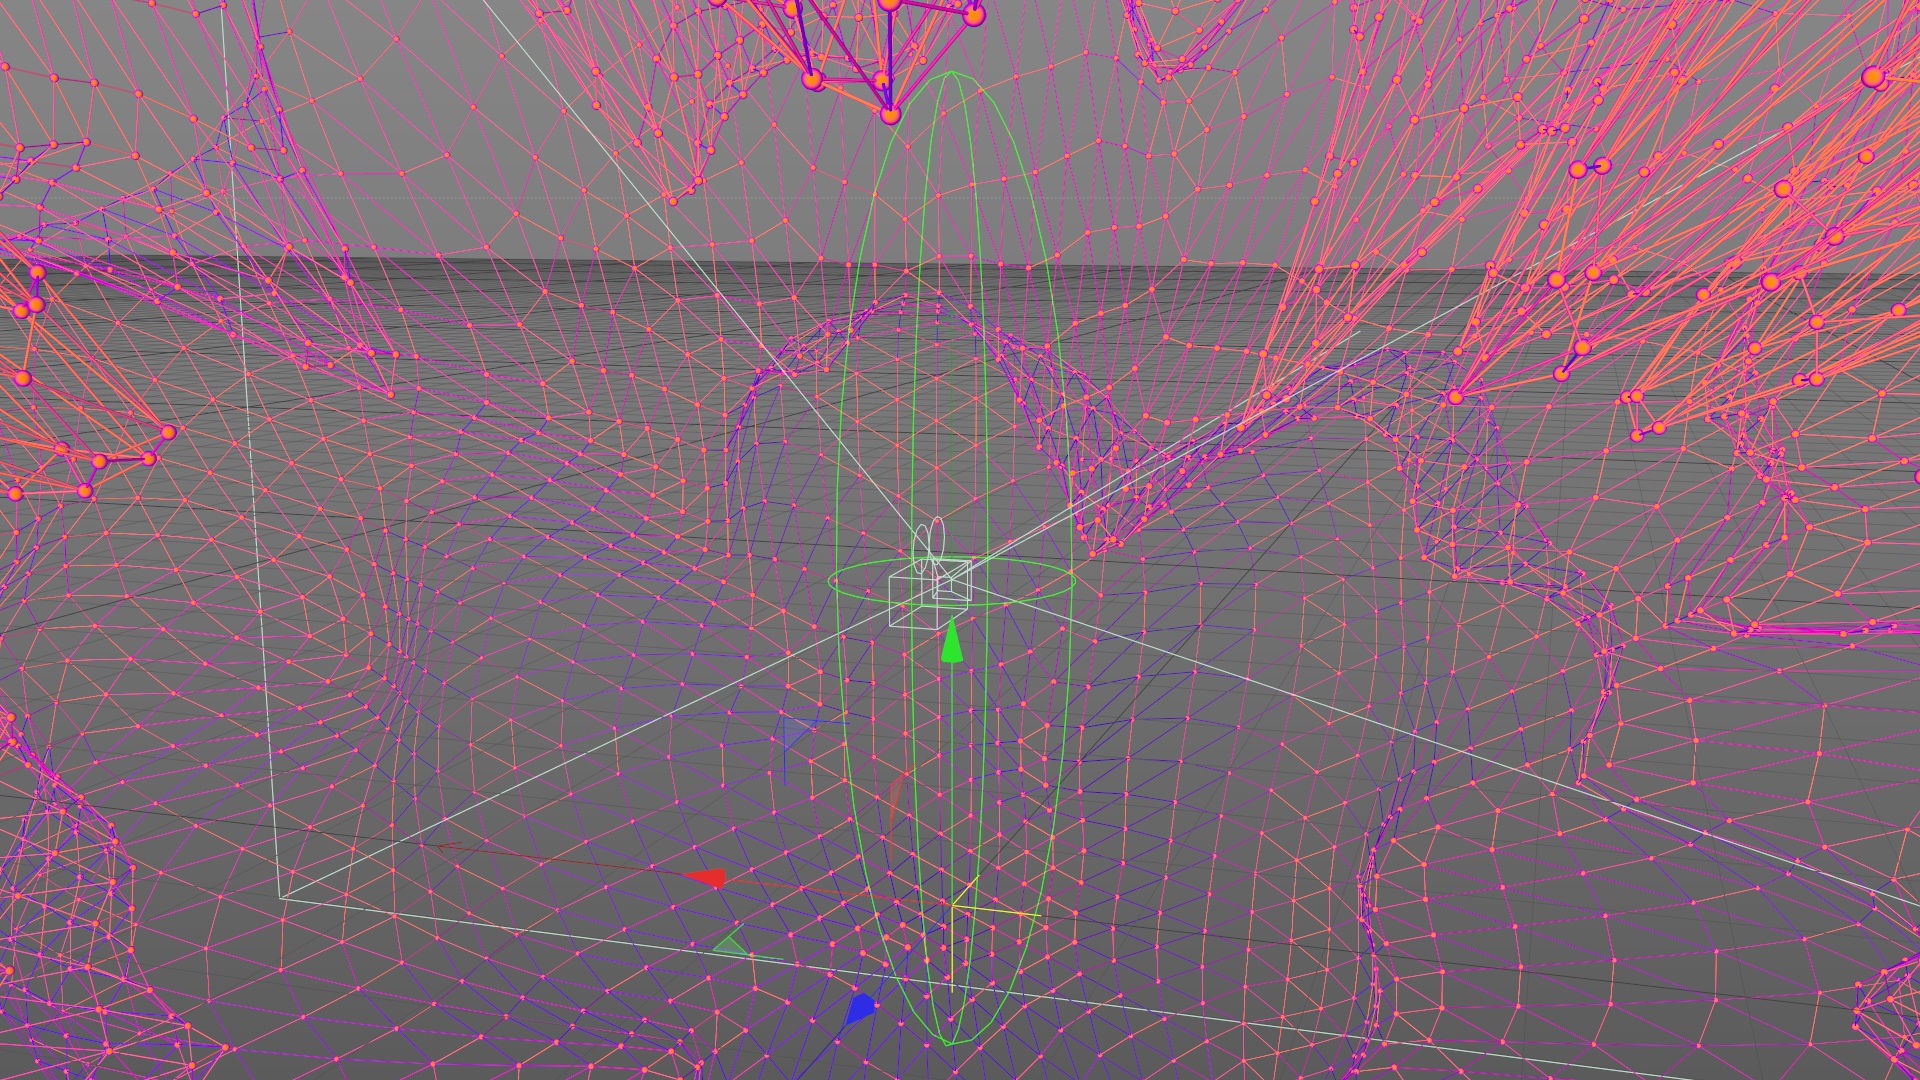
Merging camera rig creates a simple 6-camera object bound together in a group with an XPRESSO node and some basic user controls. The six cameras represent all classical orthogonal views, letting you quickly preview your scene from the PoV of the 360° camera.
A nice helper object I haven’t seen in any other VR rig before, is a guide sphere attached to the camera. Scaled dynamically based on interpupillary distance (IPD), the sphere visually represents the 3D-unsafe zone surrounding the viewer. Placing elements within this zone is likely to result in extreme eye strain when trying to resolve stereoscopy, so it is a very welcome addition to the rig. Personally I found it most useful when navigating the 360° camera through morphing, noisy mograph nodes.
Once the scene is ready, a new render effect (options panel), optly named CV-VRCam will be available in the Render Settings window. It will allow you to pick between Equirectangular and Cubemap image projection/mode as well as select some basic mono/stereo options, including IPD.
For even more control, Pole Merge settings provide additional control on the size and distribution of the stereo-to-mono transition at the poles. It is a very welcome addition, although personally I was perfectly happy with the default settings.
If you chose to merge render settings into your composition, CV-VR Cam provides you with a number of quick 1-click presets, optimized for some of the most popular video formats. Since 360° video is still very much a wild west territory and no definitive standards have been established, these come in handy especially for the newcomers, who simply want an output that’s good for YouTube’s or Facebook’s implementation of VR.
CV-VR Cam works with Cinema 4D’s built-in Standard and Physical renderers.
What’s good about CV-VR Cam
Without any doubt, the most appealing quality of this plugin is how seamlessly it integrates into standard C4D workflow. In little-to-no-time at all, you can simply drop the 360° camera rig into your existing scene and be ready to render.
Many creatives spent years mastering the fine intricacies of Cinema’s shaders and lighting. Creative use of texture projections, optical tricks with fresnel gradients – from shiny balls to low-poly retro renders – all these techniques have become an arsenal of tricks for contemporary motion artists. For all people depending on their libraries of materials and textures, and for those who want to adapt existing content into 360 – CV-VR Cam is a great choice.
Personally, a few months ago I committed to using OTOY’s Octane Render. It had a moderately steep learning curve, as the shader logic differs from that of regular C4D, but after a while I got used to it. I made the decision around the same time I was planning my most recent PC build – and optimized it towards GPU acceleration. Because of that, Octane beat CV-VR Cam on my system, rendering similar scenes 2x – 4x faster.
If your render machine (or farm) is optimized towards CPU rendering, however, you should expect really good performance. Render times will be longer compared to what you are used to. The camera will now see all of the scene, not just a small section you framed. The frame sizes will also need to be significantly larger than classic 1080p (all test renders below were created at a moderate 4K mono – 4096x2048px). In my case, CV-VR Cam renders would add anywhere from 0-30% extra time when compared to rendering a traditional “flat” camera at the same pixel size.
If you aren’t incentivized enough yet – how about the price? CV-VR Cam is free to all current subscribers of Cineversity.com. In addition to the plugin itself, you will also find there a series of video tutorials on its use, as well as a pretty good primer on 360° rendering, publishing and practices – all hosted by Rick Barrett.
Sample renders
Here are some sample renders created with CV-VR Cam. Mostly abstract mograph stuff, rendered in both Standard and Physical renderers. Use arrows or dots to navigate between the images, and your cursor (or gyroscope on mobile devices) to look around.
What’s missing or not quite there
One of the aspects of working with Cinema 4D that always attracted me to this package was its ability to render in variety of graphic, non-realistic styles. When I first heard of CV-VR Cam I was really hoping to explore some new visual grounds using some advanced Sketch and Toon trickery. Unfortunately, in its current iteration (version 1.5), the plugin does not work with the Sketch and Toon effects. A couple of times I managed to render portions of scenes correctly, but generally its behavior was highly irregular, and not officially supported.
It is still possible to render with much less versatile Cel Renderer, but I am crossing my fingers for full Sketch and Toon support in some later iteration.
Similarly, CV-VR Cam does not support object glow, lens flares and other post effects. Again, I was looking forward to rendering some space scenes with cool atmospheric glow – but as with my earlier projects, I will have to resort to rendering mattes and compositing post effects in an external application like After Effects.
Finally, I noticed that when using Standard Renderer, there is some very heavy aliasing on textures and geometry as we approach the poles (North&South AKA Top&Bottom). The problem is not present when using slower, but more precise Physical Renderer. In order to eliminate the aliasing while rendering in standard, I had to boost anti-aliasing to often ridiculous levels, absolutely destroying my render times.
Here’s a comparison of the same scene (camera placed in the center of a cube textured with dense checkerboard pattern) rendered using different quality settings and different rendering engines. You can see the scene itself by following this link to kuula.co. The chart below focuses on the section of the render most affected by the aliasing. The render times are based on 4096x2048px frame size.
Again, keep in mind my computer is optimized for GPU-accelerated rendering, so the results may not be representative of your experience.
In conclusion…
While not quite quite as robust and developed as many third-party rendering engines, Cineversity’s VR Cam is a fantastic entry-level solution to 360°/VR rendering. It misses some features I personally hoped for and is definitely not perfect – but then again, no solution is, and aforementioned third-party plugins are host to their own litany of problems.
The advantage of being fully compatible with standard C4D shaders is hard to beat. It allowed me and my teams to produce 360° adaptations of earlier flat media works nearly instantaneously – something that’s extremely important in the fast-moving motion design industry.
If you have been using Cinema 4D with its built-in render engines, and especially if you are already a Cineversity subscriber – there is simply no excuse. Get it, give it a spin, create the next big thing in this immersive new medium.
DISCLOSURE:
While this review is not a sponsored content, upon my request MAXON Computer, Inc. supplied me with a free review license of CV-VR Cam plugin as well as access to Cineversity resources. MAXON Computer, Inc. manages Cineversity and is a subsidiary of Maxon Computer GmbH – the makers of Cinema 4D.


